Perfect Developer has the facility to execute pre- and post-build steps whenever the Build function is used to generate code from Perfect source files. Typically, the post-build step is used to compile the generated files and produce an executable.
This document describes how to set up a Perfect project with Java code generation so that the generated Java files will automatically be compiled, generating a single 'jar' file that can be run using the Java virtual machine. It assumes a Windows operating environment, but the same principles can be used under Linux if the postbuildjava.bat file is replaced by an equivalent shell script.
We assume that the Java Development Kit version 1.5.x or 1.6.x from Sun Microsystems is already installed on the target machine.
Load Perfect Developer by selecting the Perfect Developer item from the Programs | Perfect Developer programs folder in the Windows Start menu.
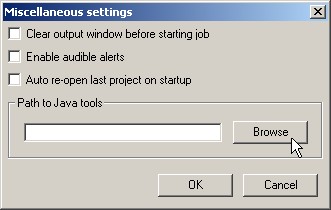
From the Options menu, select the Miscellaneous... item...
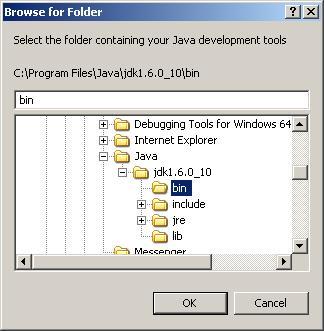
Press the Browse button and browse to the directory containing the file javac.exe and the other Java tools...
Click on the OK button, then on OK again to leave the Miscellaneous dialog.
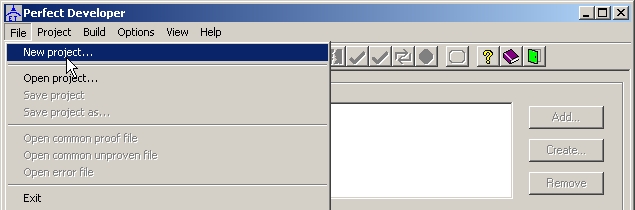
From the File menu, select the New project... item...
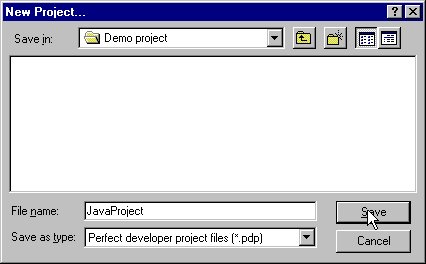
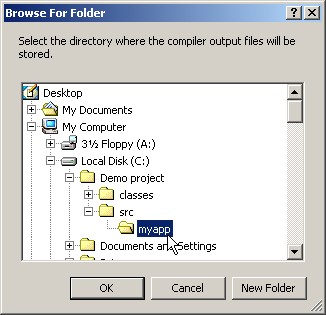
Browse to the directory you want to create the new project in...
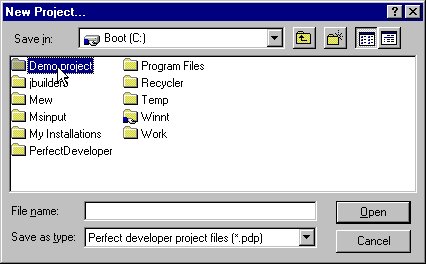
In the File name box, enter the chosen name for your Perfect project (don't worry about the extension, since Perfect Developer will add this automatically), and click the Save button...
At this point, some work outside Perfect Developer is required. This consists of three parts: creating the required directory structure, copying the required files from the original installation directories and elsewhere, and editing the copied files to suit the project.
We recommend that all directories relating to a Perfect project should be sub-directories of the directory where the Perfect project file is located.
Directories are required to hold the Java files generated by Perfect Developer, and also to hold the class files generated by the Java compiler during the post-build step. Since such directory structures are fairly well standardized for Java, we recommend keeping to the standards. Accordingly, create src and classes directories to hold the Perfect -generated Java files and Java-generated class files respectively. After that, create a sub-directory in each of these, to reflect the name of the Java package in which the application will be created. For this example application we will use the package name myapp.
The directory structure for the project is thus as shown below:
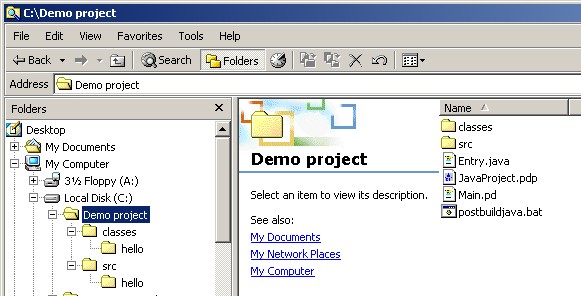
Copy Entry.java from the installation directory Examples\HelloWorld into the project directory. This file contains the Java entry point that invokes the Perfect generated code.
Copy the postbuildjava.bat file from the same installation directory to your project directory.
Edit the Java entry point file Entry.java, changing the name of
the target package to read package myapp; instead
of package hello; .
The file containing the Perfect program entry point must be called Main.pd. The simplest way to create this file and add it to the project is to click on the Create button to the right of the Files window (or select Create file from the Project menu). You will see the following dialog:
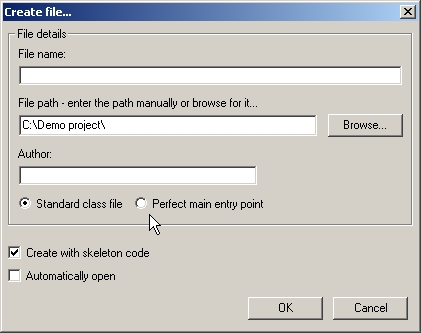
Select Perfect main entry point, check the Automatically open box and then click OK. The file will be created, added to the project, and opened in your editor.
You should now delete the dummy 'import' line and edit the definition of schema main to read as follows:
schema main(context!: limited Environment, args: seq
    of string, ret!: out int)

        pre #args > 0

        post context!print("This message was generated by my application!\n"),


             ret! = 0;
This simple example does not make use of classes, but note that when writing more complex Java applications that contain class declarations, it is best to create one Perfect source file for each class, where each file has the same name as the class it contains. For example, if we wanted a definition of a class 'Options', we would create a file 'Options.pd' for the class.
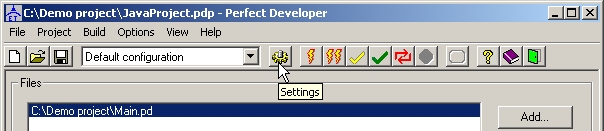
Now that the project contains our main Perfect source file, we must configure it to generate Java in the correct directory and with the appropriate settings. To change the project settings, either select the 'Settings...' item from the 'Project menu, or click on the Settings tool button...
Select the 'Code generation' settings tab...
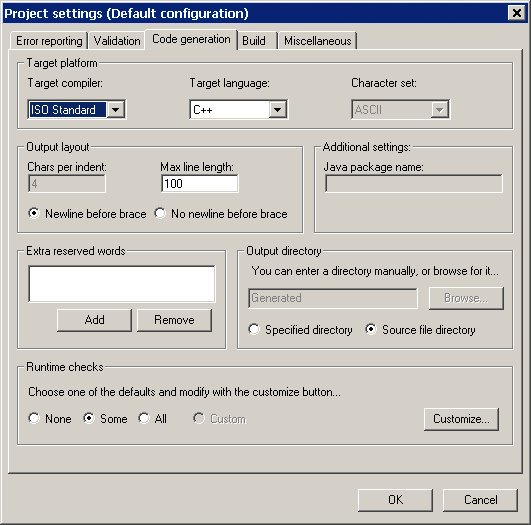
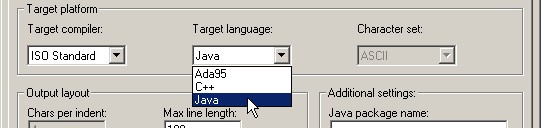
Use the 'Target language' pull-down menu to select the Java language...
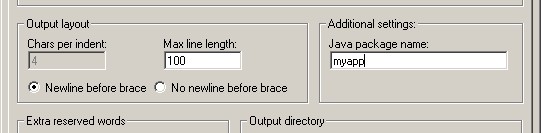
In the 'Additional settings' (same tab), enter the name of the target Java package ..
In the 'Output directory' settings (same tab), select the 'Specified directory' radio button..
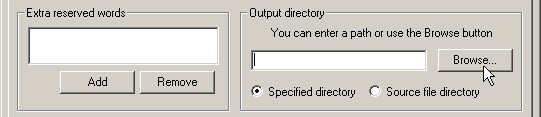
Click the 'Browse button' and select the Java output directory ('src\myapp') created earlier...
Select the 'Build' settings tab...
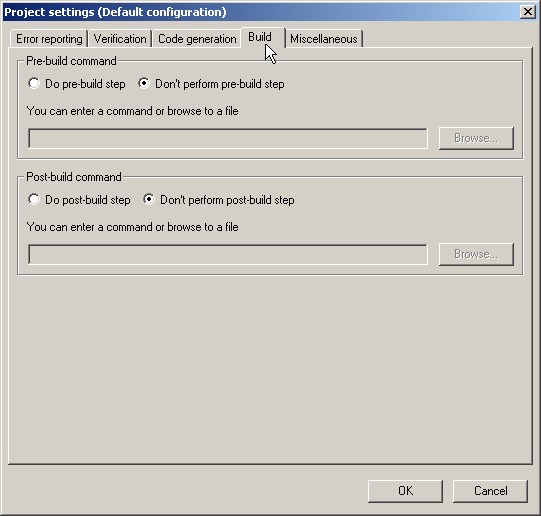
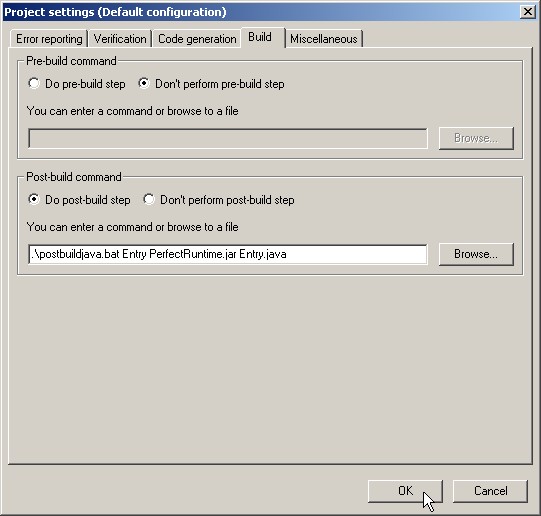
In the 'Post-build step command file' settings, click the 'Do post-build step' radio button then enter the text:
.\postbuildjava.bat Entry PerfectRuntime.jar Entry.java
This instructs Perfect Developer to run the script postbuildjava.bat after generating code from your project. Note that we have given a relative path to the script file rather than an absolute path, so that the script will still be found if you move the entire project to a different directory. The postbuildjava.bat script expects the following parameters:
The dialog window will now look like this:
When the 'OK' button is clicked, Perfect Developer pops-up a dialog box to inform the user that a project re-build may be necessary. This always occurs when accepting changes to code generation project settings. Click 'No' and save the project, before going on to build the project as described in the next section.
All the hard work is now complete, and you can build the project by simply clicking on the 'Build' tool button, or pressing the F7 key, or selecting 'Build' from the 'Build' menu...
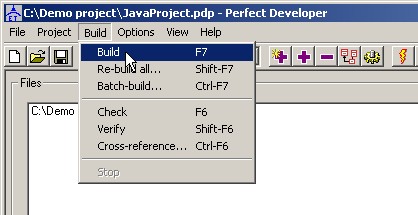
If this process is successful, the system will have generated the myapp.jar file in the output folder. This file contains not only your application but also the Perfect run-time library.
To run the generated Java application, open a command prompt, changing to the directory where the application jar file was generated (the 'Bin' directory that you created earlier), and execute the command:
java -jar myapp.jarYou should see the message written by your application.
Last updated March 2009
© 2002-2009 Escher Technologies Limited. All rights reserved.